How to use VoiceOver in 6 Tips
VoiceOver is a screen reader that comes bundled free with OSX. Designing for screen readers is essential for a pleasant user experience with low vision users, and also has the added benefit of helping with SEO. But in order to design for screen readers, it helps to understand how they work.
Here are 6 quick tips to get you started with VoiceOver and Safari.
1. Turn it on
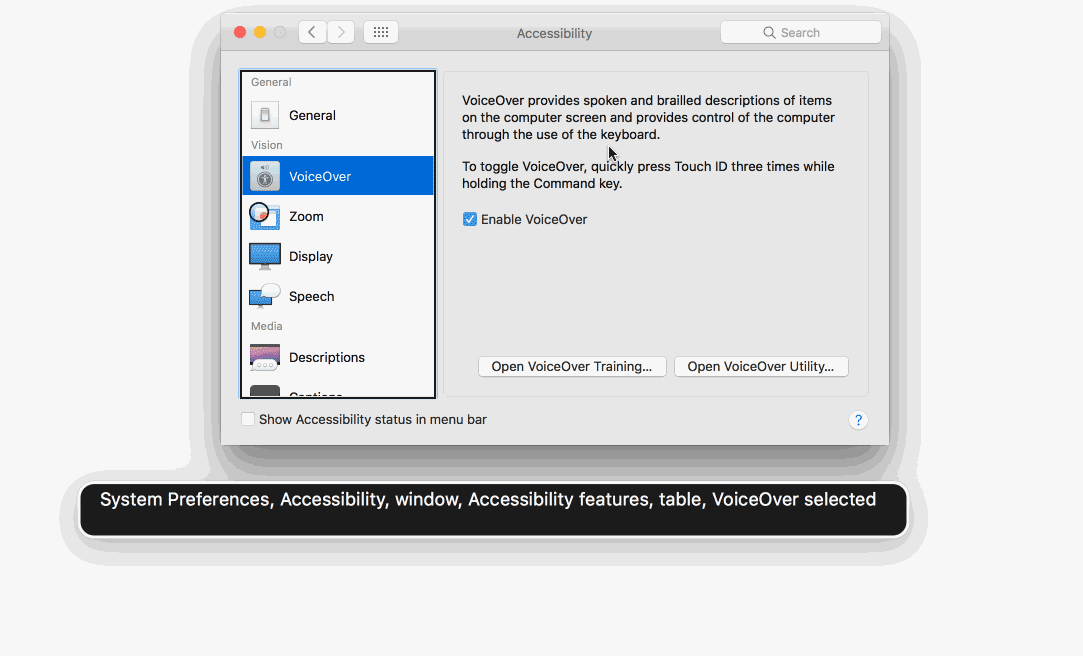
Head to System Preferences > Accessibility > VoiceOver and check the box. A dialog will show offering an optional tutorial (took me about 20 minutes), but you don’t need that, you have this guide! Click Use VoiceOver.

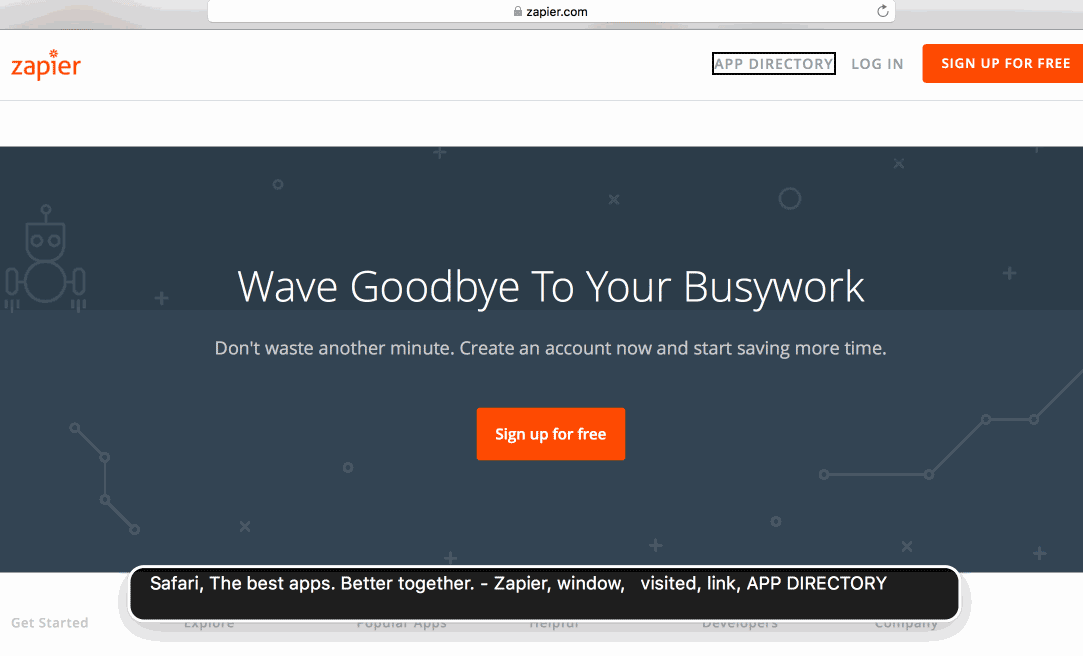
As soon as VoiceOver is on, your computer will start talking to you. You’ll also see a floating black bubble containing closed captions with a written version of the VoiceOver text, as well as a black rectangle indicating what UI elements have been focused on.
You can still use your mouse when VoiceOver is on, which is a helpful crutch while you’re still learning the keyboard shortcuts.
2. Be an explorer
While you can use your mouse, VoiceOver was designed to be used with your keyboard. You may have used familiar keyboard shortcuts like TAB and SHIFT + TAB to navigate in the past, but some types of UI aren’t tab-able.
To solve this, VoiceOver introduces new keyboard shortcuts. All of these shortcuts ask you to start by holding down CTRL + OPTION (referred to in the documentation as VO for Voice Over).
Start by trying CTRL + OPTION + →.
Try all the arrow keys! Notice how VoiceOver sometimes has tips for interacting with certain UI.
3. Silence!
As you navigate, all the talking can be repetitive if you aren’t used to it. Simply tap CTRL to instantly stop VoiceOver from reading. If you have music playing, OSX will smoothly lower the volume when VoiceOver is speaking, then ramp it back up when VoiceOver is done.

4. Stepping in and out
For certain pieces of UI, VoiceOver will focus on the container. To access the UI within the container, use SHIFT + CTRL + OPTION + ↓.
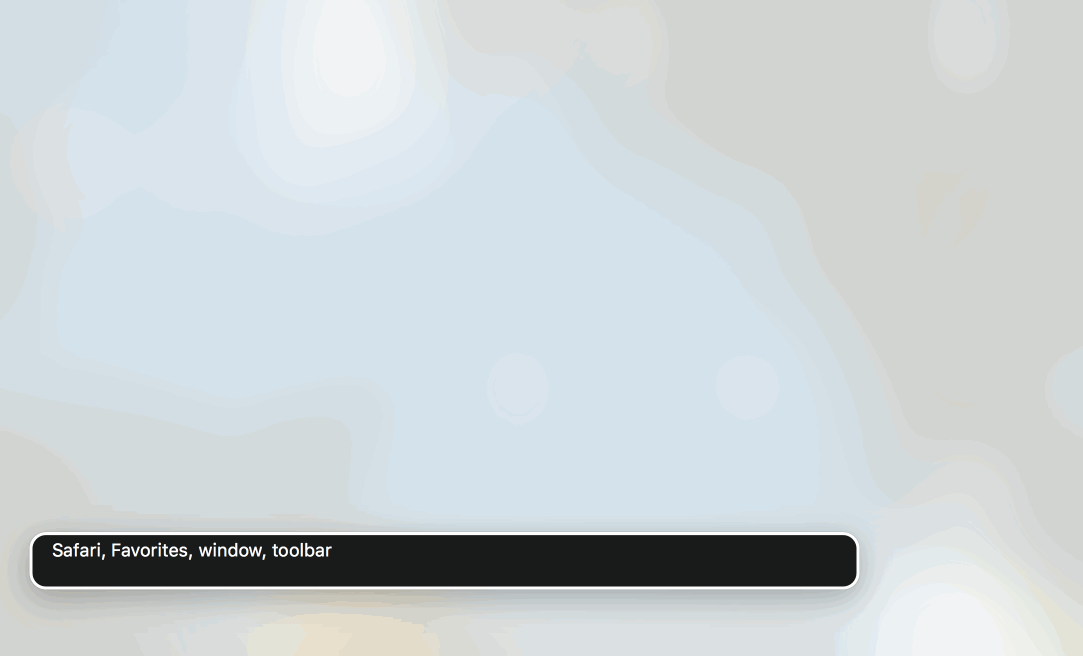
Try it out by switching to Safari, entering a URL in the address bar, and using the shortcut to start navigating.
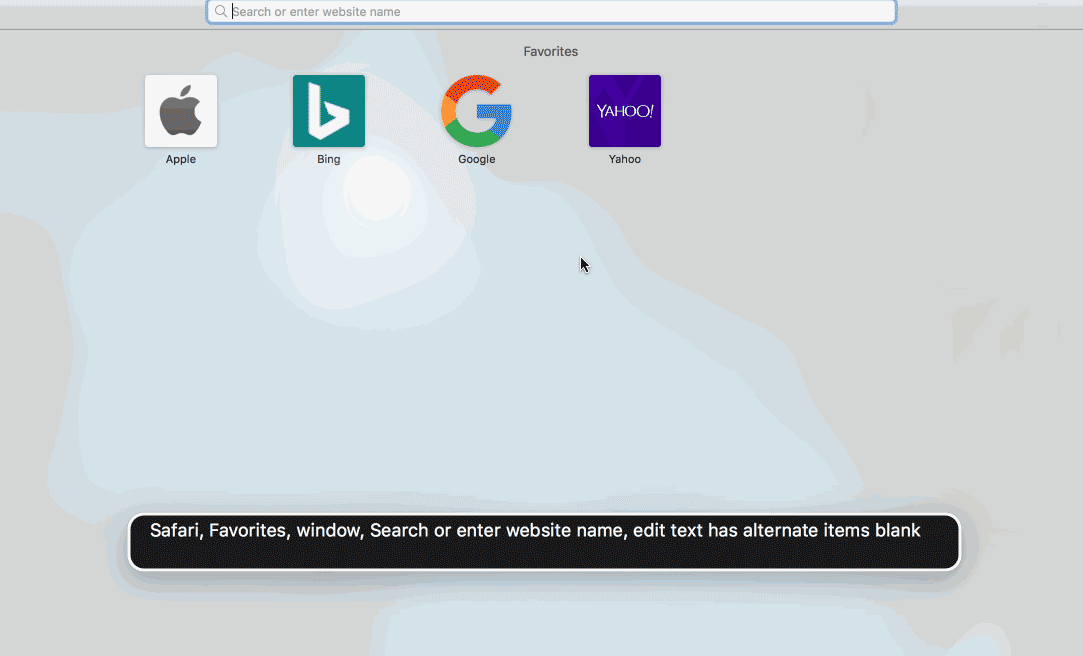
Similarly, to get out of the container use the up arrow.
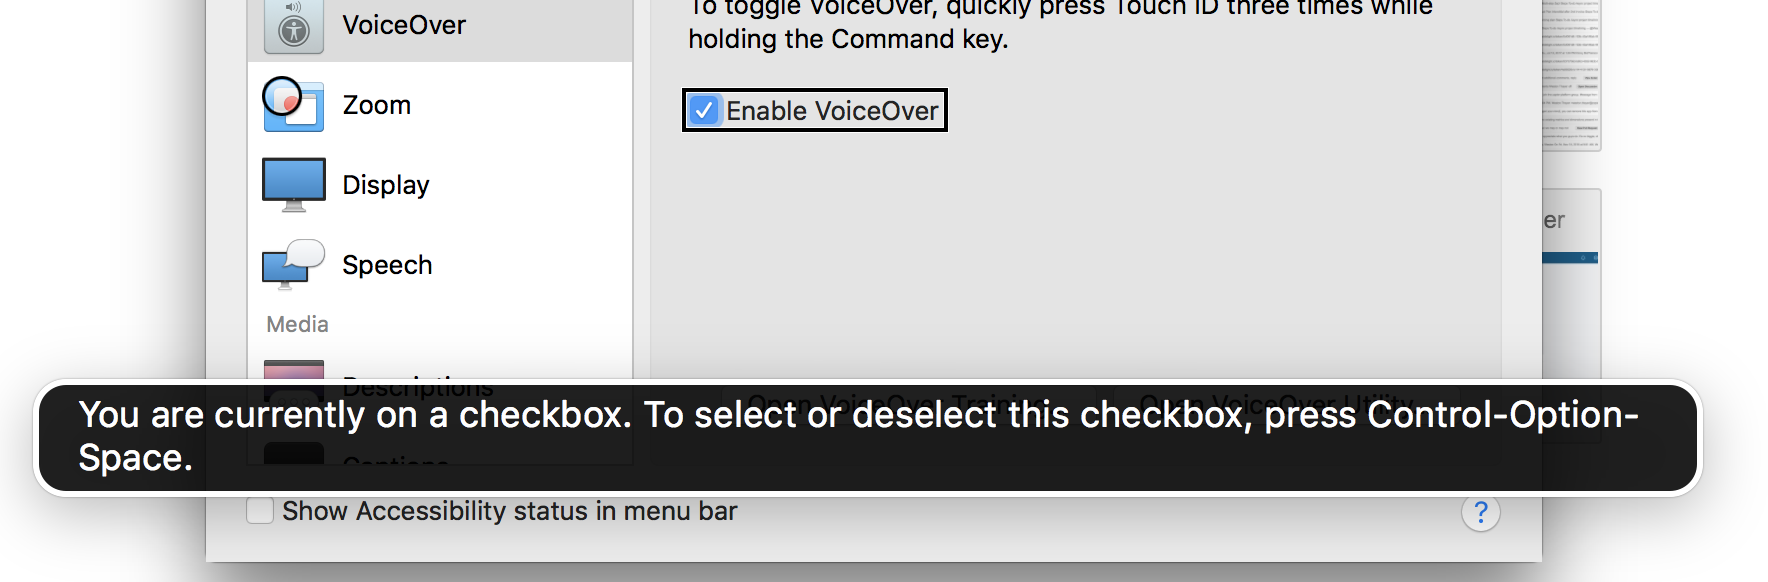
5. Click click click
Previously, I’ve used ENTER as the keyboard equivalent of clicking with the mouse, but a much more reliable option with VoiceOver is CTRL + OPTION + SPACE, which will do exactly what a click would.
6. Navigating
Play around with exploring via the arrow keys for long enough and you’ll soon become tired. There’s so much UI! Do we really have to CTRL + OPTION + → hundreds of times to get to the bottom of the page?
Luckily, no. VoiceOver has a cool feature called Rotor that lets you jump between things like sections, headings, links, and more. Activate it while on a webpage with CTRL + OPTION + U.
That’s all for now. Go ahead and give VoiceOver a try, maybe even try it out on that swanky-new-feature you’ve been working on. Some things to watch out for:
- Does VoiceOver announce that your clickable areas are clickable?
- Do your headings show up in Rotor?
- Do images have a description?
- Is copy in all caps read as an acronym?
Bonus tip: for those of us with touchpads, it is possible to lose your mouse if you accidentally are holding down
CTRL + OPTIONand rotate 2 fingers clockwise (my palm did this once). To fix it, simply hold down the keys and rotate 2 fingers counter-clockwise.